
Sometimes you've got to be able to start a fire. One way of starting a fire is to concentrate sunlight on something flammable using a lens or a curved mirror. This tutorial will show you how to make a parabolic focusing mirror from a soda can and use it to concentrate sunlight to start a fire.
Standard disclaimer: This project and others available on this site uses heat, tools, chemicals, and open flames. You are responsible for taking all applicable safety precautions, and applying common sense. Since I have no control over how you do things in your own shop, or what precautions you choose to use or not use, and I'm not there to hold your hand, it's not my fault if you hurt yourself.
This project is quick and easy because a soda can already has a parabolic shape on it. All we have to do is make it reflective and cut it free to make it portable. The bottom of a soda can has a parabolic arch. This shape lets it better resist the pressure of its contents without distorting. In this aspect, the soda can is behaving similar to a pressure tank, a steam boiler, or any other container that has to withstand pressure. Having a flat end on a tank is not a stable configuration; such a shape would bulge out under pressure, and as it distorted it would tear and fail. One way to prevent this is with an arch shape that directs the pressure in a different direction where it can be better resisted. In the soda can, the arch directs the pressure outward into a ring of metal around the arch. The can is designed to use the least metal possible for its strength, and the parabolic arch is one of the most efficient arch shapes at redirecting pressure, so that's what the designers used. It wasn't intended as a reflector but it can be re-purposed.
The main tools we'll need are abrasives to polish the metal, and something to cut it free of the can when we're done. The fastest way to polish the metal is to use a series of abrasives from coarse to fine. The surface is already pretty smooth, so we can start with a fairly fine abrasive as our first, then progress to finer ones to make a good polish. If we only have one type of abrasive, a situation that might arise if we were doing this in an emergency, it'll take longer but it will still work. For this project we'll be using steel wool, commercial polishing abrasives which come in stick form, and a piece of cloth. Improvised abrasives might include toothpaste, which contains fine silica to polish your teeth and will slowly polish aluminum, or even chocolate. Some survival manuals mention that chocolate can be used to slowly polish aluminum. Another possibility would be to use silica in the form of fine clay or crushed up sand; the coarser bits can be removed by mixing the abrasive with water, and letting it settle. The finer pieces will settle out last, and can be poured off while still suspended in the water and allowed to settle in a separate container. After the can is polished, you may want to separate the bottom from the can so that it's more portable; the metal can be cut with scissors or a knife, and you may want a marker to mark where you plan to cut.
Here's a can of soda and some of our tools. The curved bottom part is what we're going to polish. The can will be less flexible if it's still full of soda, so resist the urge to drink it until later.

The abrasive comes in sticks mixed with wax. There are several grades; the ones here are tripoli (the brown stick) and rouge (the red stick). The steel wool is grade 000, which is one of the finer grades available. In order from coarsest to finest, the steel wool is coarsest, the tripoli is an intermediate fineness, and the rouge is the final, finest polish. The cloth is a cotton dish towel, the sort sometimes sold as 'flour sack toweling'. Paper toweling would work. Terry cloth toweling would probably not work as well; it's designed to be absorbent but it would also absorb the abrasives, and less of the abrasive would be exposed to work on the aluminum. In an emergency, you could use the corner of your t-shirt, a scrap of leather, a sock, or maybe even your thumb, although it would be hard on your skin.

We'll start by taking the steel wool and polishing the concave can bottom until it's as shiny as we can make it. After a few minutes with steel wool, the printing is gone, the anodized finish is gone, and the stamped writing at the bottom of the curve is fading out. It's not a mirrored finish but it's uniformly shiny. Time to move on to the next abrasive.

We move on to the finer abrasives; they'll need to be rubbed into cloth, then the cloth used to polish the aluminum. The tripoli can be rubbed onto the cloth like a big, rough crayon. It doesn't have to be particularly uniform, but if it leaves crumbs, like it did here, shake them off so they don't scratch the metal. Rub the cloth with tripoli in circles and back and forth across the concave bottom of the can, until it develops a nice shine and all the scratches from the steel wool are gone. It shouldn't take very long. Mine took several minutes.

Here's the aluminum after being polished with the tripoli. It's starting to get a mirror finish. This would probably work as a fire starter, though only when the sun was high in the sky, since the imperfect polish would scatter a lot of the light. You can see how much metal the tripoli removes; the cloth is flecked with silver.

Here's the rouge. Just like the tripoli, we want to smear it into the cloth, then use the cloth to polish the metal. Rouge is softer than tripoli, and smears more uniformly across the cloth with fewer crumbs.

After you've polished it for a few minutes with the rouge, it should be getting close to a mirror shine. You should be able to see your reflection in it with no difficulty. In this picture you can clearly see the reflection of the window behind where I'm working. There are a few fine scratches visible, but this is good enough to work, and it would take finer abrasives and more time to get rid of them, so this is where we'll stop.

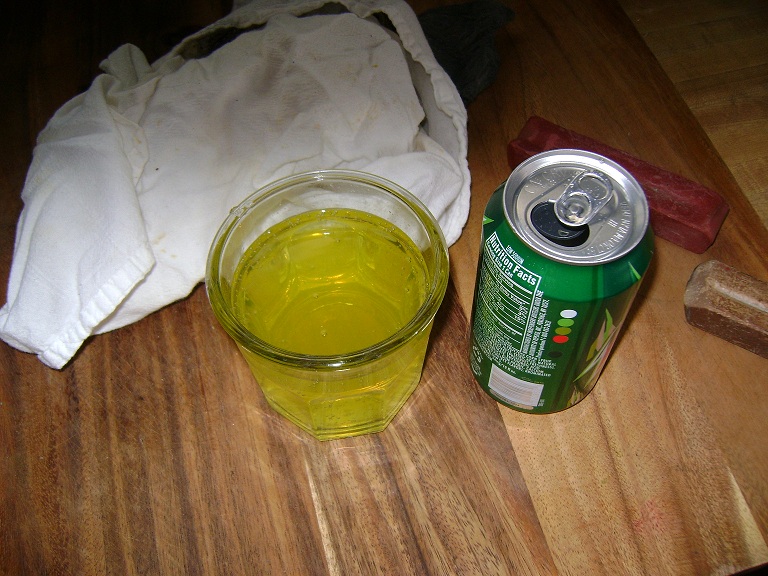
If you've started with a full can, now's when you can turn it over and pour it out to toast the fruits of your labors. Behold, the water of life. Blessed be the sacred water. Blessed be its sacred caffeine.
If you want to cut the can down to size for portability, you can do so with scissors or a craft knife. Wrapping a sheet of paper around the can will help you mark a straight line for neat work. If you're doing this in an emergency, you might want to keep the can intact, or cut it at the mouth end, so that you've still got the use of the container for carrying water and/or as a drinking cup. If you're stuck with limited resources, make sure you're using them in ways that don't keep them from being used differently later...

Here it is cut down to about two centimeters in height and with the edges smoothed with steel wool. This is portable enough to put in a pocket or in a small survival kit.

This worked out rather well. It took longer to find the camera than to actually make the reflector. Definitely a 'quickie' project, and a good survival/emergency skill to know. I don't have any action shots, because I had to hold the reflector in one hand and the tinder in the other leaving none for the camera, but this was able to set the end of a dry piece of straw on fire in a few seconds once I found the focal point. Finding the focal point did take some fiddling. The reflector has to be held perpendicular to the sunlight or the focal point will be off-axis and the image of the sun will be distorted and spread out. If I was going to be using this frequently to start fires I'd want to drill a hole at the center and put a wire or pin up perpendicular to the mirror. Holding the tinder in the focal point blocked off some of the sunlight, and a perpendicular wire would help show when the mirror was pointed right at the sun. The tinder could be skewered on the end of the wire then the mirror could just be moved about until the tinder was in the focal point. I'd initially tried to light a shred of white paper, but it turned out to be harder to light than straw; it blocked more light from the sun and reflected more light away.
Find more Tinker Projects: